How to Add Custom Fonts to WordPress with CSS & No Plugins
2023-01-31
390 words
2 mins read
This article describes how to add custom fonts to your Wordpress website without the need of using a plugin, all through simple CSS. Don’t worry if this is your first time working with CSS styling language this is a great place to start.
Requirements:
- Wordpress website
- Custom fonts
Step 1: Upload Custom Fonts to a New “Fonts” Folder
*It’s recommended to use a Child Theme when adding fonts and editing the theme style.css file.
Create a new folder inside your website /wp-content/themes/your-child-theme/ folder and label it “fonts”. Then upload your fonts in any of the following extension formats:
Note that some browsers require certain file extensions in order to render certain fonts correctly.
- .eot
- .woff
- .woff2
- .ttf
- .svg
You can use an online tool to convert files to correct files.
After uploading fonts you should have a font folder on your wordpress site with all your necessary font files in the directory:
/wp-content/themes/your-theme/fonts/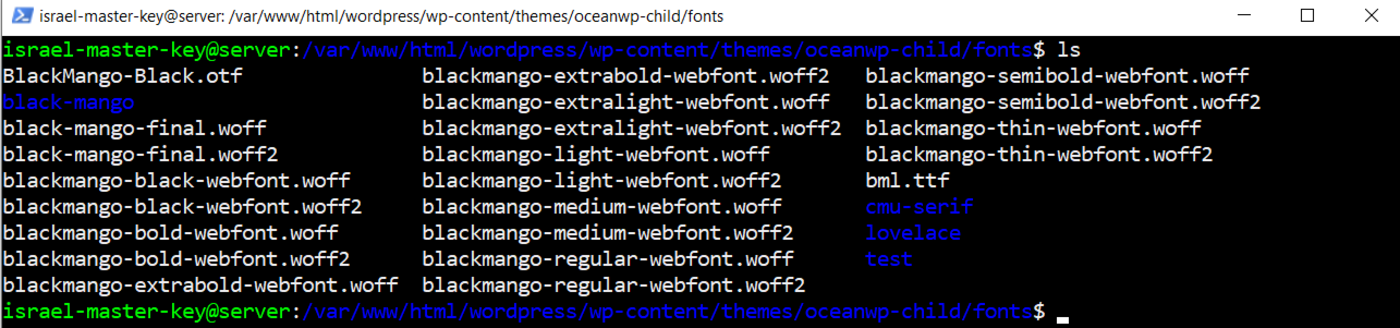
Step 2: Edit the “style.css” using the Theme File Editor
With your active child theme, you want to open the Theme File Editor to your style.css file and add the code below. Make sure you replace your file names and font extensions to match your own uploaded files:
@font-face {
  font-family: 'MyWebFont';
  src: url('webfont.eot'); /* IE9 Compat Modes */
  src: url('webfont.eot?#iefix') format('embedded-opentype'), /* IE6-IE8 */
       url('webfont.woff2') format('woff2'), /* Super Modern Browsers */
       url('webfont.woff') format('woff'), /* Pretty Modern Browsers */
       url('webfont.ttf')  format('truetype'), /* Safari, Android, iOS */
       url('webfont.svg#svgFontName') format('svg'); /* Legacy iOS */
}
It should look similar to this based on your font names, extensions, and website name.

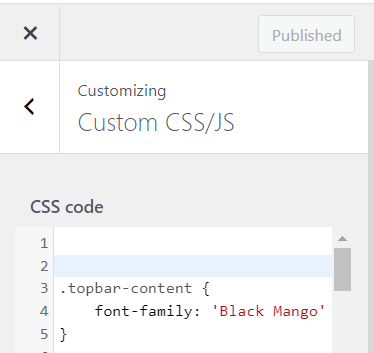
Step 3: Add Custom CSS
Some themes like OceanWP will allow you to add custom CSS directly in the theme customizer on Wordpress. You can modify any existing fonts on your site by finding any text-based HTML element, class, or ID and applying the styling as such:
.my-element {
    font-family: 'MyWebFont'
}
Make sure you follow the guides to basic css styling and your fonts will reflect if you’ve done everything correctly.
Conclusion
I’ve had issues with completing all these steps before so don’t feel discouraged if you don’t quite get it all right the first time. In my case, I was missing single or double quotes in some areas of my code. Just do double-check, and reach out to me if you have any more troubles. Cheers! :)
Related Articles:

Authored By Is-Rael Landes
Is-Rael Landes, a good man living on the earth, loving making website, teaching others and coding.